FB HEADER

Search The Rusted Garden Journal: Just Enter a Key Word or Phrase

Saturday, January 13, 2018

The Rusted Garden Show EP 2: Building Simple Inexpensive Grow Lights & Seed Starting Herbs

Subscribe to my YouTube Channel The Rusted Garden
Over 800 Garden Videos Designed to Quickly Present Information!

The Rusted Garden Show EP 2:
Building Simple Inexpensive Grow Lights & Seed Starting Herbs


In addition to my short focused videos all about vegetable gardening, I will be doing an ongoing long format video series called The Rusted Garden Show. It will be packed full of information and the topics will be relevant in real time to what is going on with gardening in Maryland Zone 7. It is also available for free as a podcast, just search The Rusted Garden on ITunes or at Podomatic.com. 

The Rusted Garden Show EP 2 teaches you how to build simple and inexpensive grow light stations. I show you several designs and explain how to use the lights to grow strong transplants. I also show you how to seed start herbs and onions using my over seeding method.  Please use the table of contents to move through the EP 2 as it will show up below on the video description. You can jump to the parts that interest you.


0:00  Start and Introduction
1:34   Grow Lights - Different Types
2:43   Building  Two 4 Foot T-8 Fluorescent Grow Lights (Parts)
5:35   How to Use Two 4 Foot T-8 Grow Lights on Your Shelves
6:32   Using Timers
7:30   How Long to Keep the Grow Lights On
9:40   Growing Options Using One 4 Foot Grow Light
11:00 Alternative Grow Light Builds Using Single Bulbs
12:35 Building Grow Light Boxes from Storage Containers
14:50 Cost of Electricity and How to Calculate it Monthly
16:40 Cheat by Using the Outdoor Sun Occasionally
18:45 Seed Starting Herbs and Onions
20:50 Over Seeding Chives
22:55 Over Seeding Oregano
25:00 Over Seeding Thyme
26:40 Seed Starting Lavender and Rosemary
28:40 Seed Starting Sage
30:00 Seed Starting and Over Seeding Onions
32:15 Bottom Watering - How and When
The Rusted Garden Show EP 1:
Indoor Vegetable Seed Starting Basics & Preventing 4 Major Mistakes


Please Support The Rusted Garden by Shopping through my Amazon Affiliate Link

Monday, December 25, 2017

Indoor Vegetable Seed Starting Basics & Preventing 4 Major Mistakes - The Rusted Garden Show EP 1

Subscribe to my YouTube Channel The Rusted Garden
Over 800 Garden Videos Designed to Quickly Present Information!
Indoor Vegetable Seed Starting Basics and Preventing 4 Major Mistakes 
The Rusted Garden Show EP 1


I will have a new vegetable gardening show for 2018 call, what else, The Rusted Garden Show. It will be about 20-30 minutes long and be specific to a theme. I will cover a lot of information and link more detailed videos to the show, so you can find more information when needed.

The show will flow in real-time as it will cover what I am doing in my garden for 2018. I am in Maryland Zone 7.  Below is the description to the video and you can see a table of contents. This episode is all about learning the basics for starting seeds indoors. It is a great way to see what is needed and how to avoid 4 big mistakes.


I now have 'The Rusted Garden - A Garden Wants to Give' T-Shirts. Please visit my Garden and Seed Shop at www.therustedgarden.com

Welcome to The Rusted Garden Show EP 1. It is all about indoor vegetable seed starting basics. If you are just getting started, this video is for you.  I cover the cells, trays, starting mixes and lighting. Plus I review the 4 biggest mistakes you can make and how to avoid them. There is a table of contents, so you can move through the video as you was wish.

0:00    Start & Introduction
0:51    Seed Starting Cells & Flats
5:25    Seed Starting Mix (Making it & Preparation)
6:20    Mistake 1: Starting Mix is too Dry
7:10    Setting Up Seed Cells & Using Peat Pellets
9:25    Mistake 2: Leggy Plants & Proper Lighting
10:35  Skip the Small Cells & Grow in Larger Container
11:50  Mistake 3: Too Much Fertilizer - Use less!
14:25  Mistake 4: No Outdoor Soil - Stopping Insects & Diseases
17:15  Video Introduction: Building a Composting Tube
18:00  All the Details on Lighting - Kelvin & Lumens


Sunday, November 12, 2017

Looking for a Great Holiday Gift for a Gardener in Your Life? Shirley's Simple Shelving Makes a Great Gift

Subscribe to my YouTube Channel The Rusted Garden
Over 800 Garden Videos Designed to Quickly Present Information!

Please Support The Rusted Garden by Shopping through my Amazon Affiliate Link

Looking for a Great Holiday Gift for a Gardener in Your Life?
Shirley's Simple Shelving Makes a Great Gift


Sometimes it can be hard to find a really nice holiday gift for a vegetable gardener. We, on the one hand, are satisfied with a bag dirt, but on the other hand, it can be difficult to find something unique. Shirley's Simple Shelving solves that problem. Shirley sells framing systems that require no tools for setup and takedown. They are made of metal, not plastic, and constructed in the USA. You can buy units small enough for a table or large enough for 8 foot boards. In either case, you just slide the appropriate size boards into the frame and you are ready to go.

I will be working with Shirley for 2018 and the metal rustic frames (below) are inspired by The Rusted Garden. You can find the frames in so many different colors but I prefer the patina of RUST. Check out her website to see her different shelving systems and colors. And if you find one that comes unfinished, in the 'Rustic' style, it is what I have currently in my garden. You can enter the coupon code THERUSTEDGARDEN at checkout and save $10 right now. If you purchase a RUSTIC finish, I do get a percentage of those sales.


They come in 2 tiers, 3 tiers, 6 tiers and more. There shelving frames come in so many different sizes and colors. One of them will Shirley meet your gifting needs. You can find the right size for any garden.  I love Shirley's shelves because the are simple to setup and takedown. You can see how quickly I set them up in my video and how I used them for container gardening. They helped me take the clutter off my deck and set up this beautiful growing area. Those are my spring seed starts you see below.


The no tool construction allowed me to easily move the shelves by myself, as the seasons changed. That greatest value is that they not only helped me organize my space and free up my deck for entertaining... but they also gave me more space for planting. You can see in the video how I used the red enamel frames this spring. I color stained the boards to match the frames and it added a brilliant addition of color to my garden. They are built to last and highly functional. They would make a wonderful holiday gift. 

Gary (The Rusted Garden)


Sunday, October 15, 2017

How to Grow Sweet Potatoes in Containers: Making Slips, Container Preparation, Basic Feeding and Harvesting

Subscribe to my YouTube Channel The Rusted Garden
Over 800 Garden Videos Designed to Quickly Present Information!

Please Support The Rusted Garden by Shopping through my Amazon Affiliate Link

How to Grow Sweet Potatoes in Containers:
Making Slips, Container Preparation, Basic Feeding and Harvesting


My 2018 Sweet Potato Harvest from Containers
Growing Your Own Sweet Potato Slips:

Sweet Potatoes can be easily grown in containers. You don't start sweet potatoes from seeds or from 'seed potatoes'. You start them from slips. You can easily grow your own by dropping a portion of the sweet potato in a container  of water. Just like the old elementary school experiment. Use tooth picks to support the potato over a jar or glass of water, so it is submerged to 1/3 - 1/2 its size. Keep the jar full on a sunny windowsill and wait. It will soon start growing shoots that will become your slips.

You want to start growing your slips about 60-90 days before they are ready to go into the ground. They get planted after the danger of frost has passed. You might get lucky and get slips in 30 days but it is best to start earlier. When your slips or the growth on you sweet potato get about 3-5 inches tall you can cut them off and drop them into their own glass of water. They will root quickly and be ready for transplant in about 2 weeks. I purchased my sweet potatoes from a local grocery store that sells organic vegetables. The 2 videos shows you all the steps for growing your own sweet potato slips.


Container Selection:

Sweet potatoes can be grown in 5 gallon containers. Generally speaking, the yield is smaller but you can still get plenty of delicious sweet potatoes. No matter what size container you choose, the set up is the same. Make sure you have holes in the container. Excess water has to drain from the container or the plant's roots will rot. The container soil can really be any basic bagged potting mix. You just need a simple mix that drains well. If you want to make your own you can use 50% soil and 50% peat moss or coco coir. A combination of the two is fine. You can also cut the soil to 25% and add in 25% of true compost. What I mean by true compost is any fully composted product, not one that is still breaking down.  This video will give you some information on selecting containers.


Fertilizing and Feeding:

I recommend a balance fertilizer like a 5-5-5 NPK. Sweet potatoes are heavy feeders and you want to equally represent the phosphorous (5) and potassium (5) to a value at least equal to nitrogen (5) or even a little bit higher. Don't over stress with finding the right number. I use organic fertilizer with my potatoes when setting up the container mix for planting. Just follow the fertilizer package as directed. You don't want nitrogen to be over represented. You will have to follow, the basic soil set up, by feeding your sweet potatoes regularly with water soluble fertilizer.

The water soluble fertilizers have NPK and other nutrients the are readily or immediately available to the plants. You will have to do this every 10-14 days and of course use less when the plants are small and more as the summer progress. Again you want to make sure the phosphorous and potassium are well represented. You can use an organic water soluble fertilizer but the chemical fertilizer are often more balanced. Your plant can't tell the difference but use what you are comfortable with.


Harvesting Sweet Potatoes:

What I learned about harvesting is be patient and wait until the frost comes and takes the leaves. In Maryland Zone 7 you plant in mid May. You can plant in your zone once the danger of frost has passed. I was harvesting my sweet potatoes in September. I found letting them grow 4-6 weeks longer into October, when the first frost is arriving, made for larger sweet potatoes. Common sense to me now but you will see sweet potatoes breaking the surface in September and might be tempted to harvest them early. Simply put, wait till first frost.


Good Luck
Gary (The Rusted Garden)


6 Fall Vegetables To Plant Now: A Guest Post for The Rusted Garden

Subscribe to my YouTube Channel The Rusted Garden
Over 800 Garden Videos Designed to Quickly Present Information!

Please Support The Rusted Garden by Shopping through my Amazon Affiliate Link


This is a guest post by Wendy Dessler. Wendy is a super-connector with My Seed Needs. Wendy frequently writes about the latest in the gardening trends world and tries to help novice and experienced planters grow.

6 Fall Vegetables To Plant Now


Gardeners everywhere enjoy the wonderful food that has been harvested from spring and summer crops. But, there are also crops of vegetables that can be planted now, in early fall and they will be ready to eat before winter.

It is much easier to plant and tend a garden with the cooler days and the breezes keep the insects away. For a better variety of crops and a tasty winter season, see the list below.

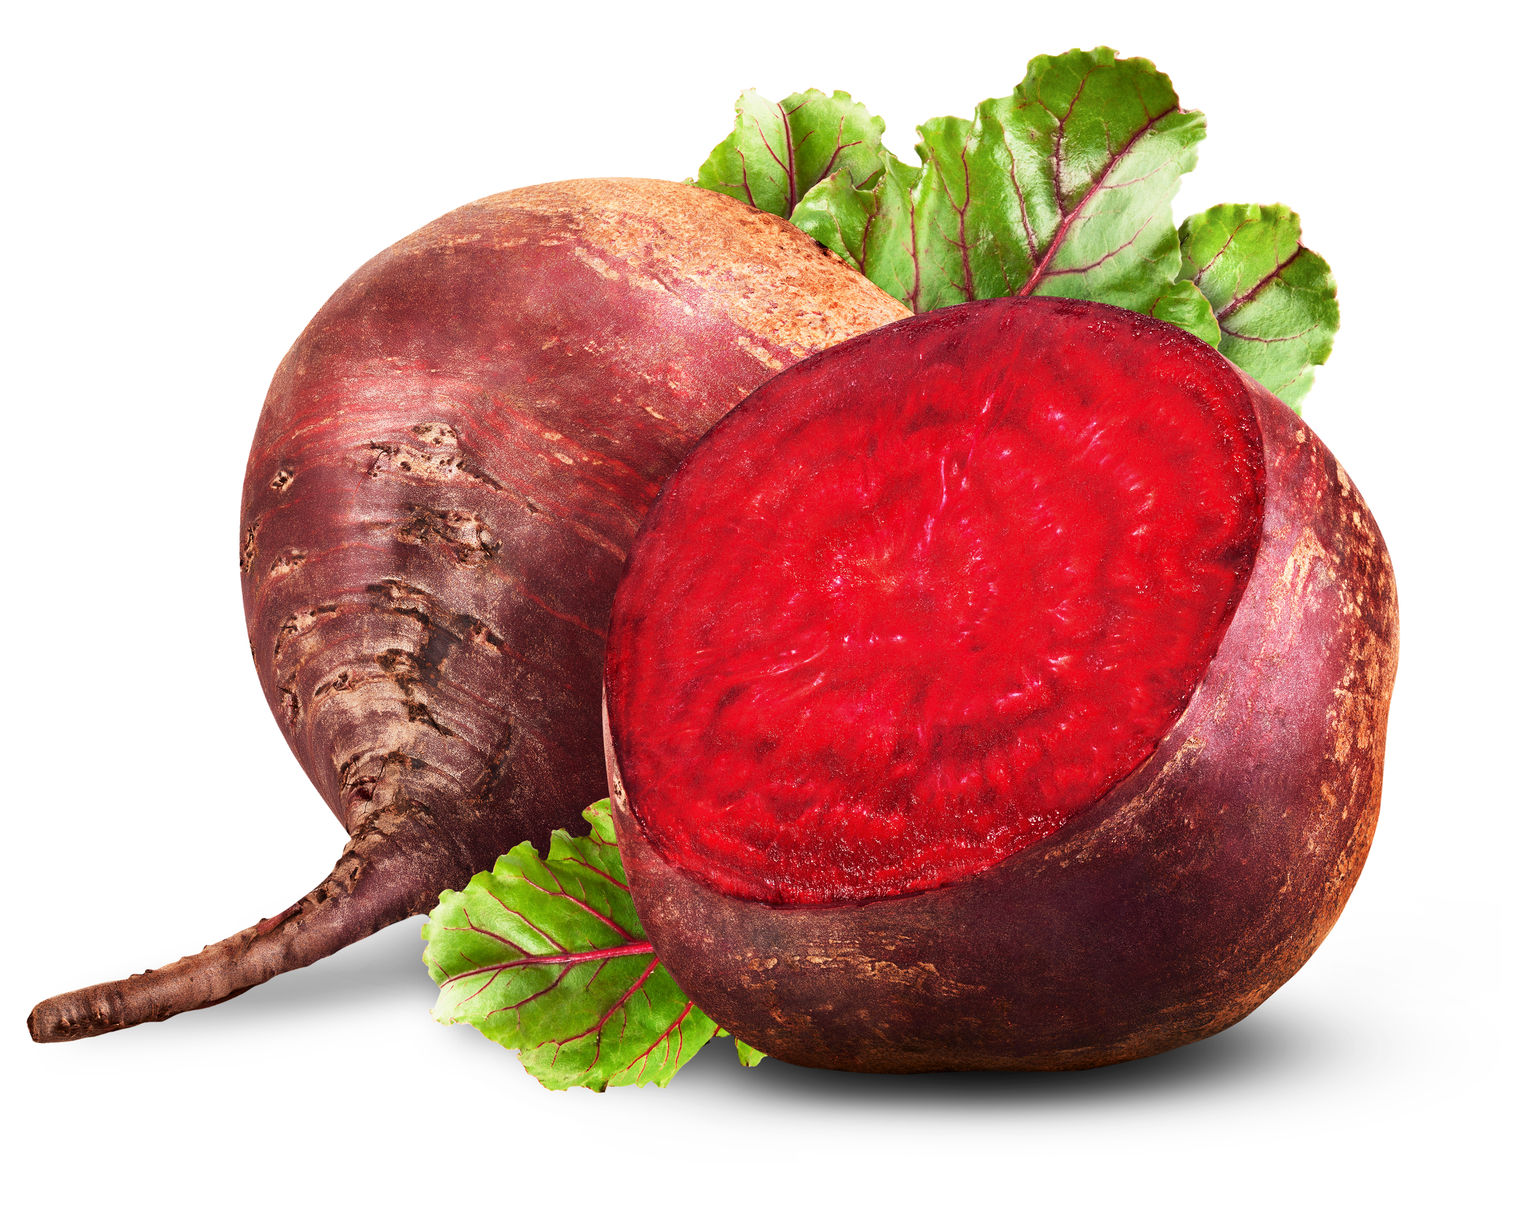
Beets  

Beets are not always the favorite food on the table, but there are some great recipes that can be added to. They are a good source of vitamin C, Iron, magnesium, and a lot more.

Copyright: buriy / 123RF Stock Photo

Beans

Snap beans and bush beans do well in the fall temperatures. Stay away from the pole beans. Beans are a great source of protein and they bring a heavy harvest so you will have enough to freeze or can them.
They give you copper, a good mixture of the vitamin B family, and minerals.

Broccoli

Broccoli is great when raw with ranch dip, or steamed. They are a vitamin powerhouse.
Vitamin B1, B6, E, protein, zinc, calcium, iron, omega-3 fatty acids. This is just a small part of what adding broccoli provides for your health.

Brussels Sprouts

Brussel sprouts will grow well until the first frost. At that point they are about finished for the season.

They are a source of Vitamin C, vitamin K, Vitamin B1, folate, manganese, vitamin B6, dietary fiber, choline, copper, potassium, phosphorus and omega-3 fatty acids.

Here is a list of veggies that will do well if planted now. Your seed provider can give you more information and variations.

  • Cabbage
  • Kale
  • Cauliflower
  • Turnips
  • Celeriac
  • Collards
  • Green Onions
  • Kohlrabi (very fast growing food).
  • Lettuce
  • Cauliflower
  • Peas (choose a short season seed for autumn)
  • Pumpkins
  • Radishes
  • Parsley

Tips

Set these out now: 

Broccoli, Brussels sprouts, cabbage, cauliflower, kale, kohlrabi, and cauliflower seedlings, along with celery, bulb fennel, and parsley.

Direct sow these:

carrots, collards, leeks, scallions, and radishes. Don’t forget you can direct sow lettuce too.

It is not too late to plant and get a fall harvest. Speak to your seed distributor (see link above) for any advice you need. Remember there are varieties within each seed group. Make sure you order the correct variety.

Soil

Prepare your soil before you plant. If your garden from spring had a mulch covering it remove it. The soil under it is good soil for growing fall plants. Just till it and remove any weeds that may be there. If you are unsure how to do that, there are plenty knowledgeable people on forums and communities that even sell parts of the equipment that can facilitate your job. You can add a layer of compost or manure to add some growing power to the soil.

Taking care of you fall garden is much like taking care of your spring garden. You must keep the weeds away, and protect the plants from animals and insects. If you plan on using covers to protect the plants from early frost, get them now. You don’t want to be rushing around looking for them when the frost is predicted and all the other gardeners are out looking.

Start now and look for a great harvest!